1.首先插件依赖安装
| yarn add vite-plugin-svg-icons -D |
| # or |
| npm install vite-plugin-svg-icons -D |
| # or |
| pnpm install vite-plugin-svg-icons -D |
| |
| --- |
| yarn add fast-glob |
| # or |
| npm install fast-glob |
| # or |
| pnpm install fast-glob |
2.vite.config.ts 中的配置插件
| import { defineConfig } from 'vite' |
| import vue from '@vitejs/plugin-vue' |
| ++ import { createSvgIconsPlugin } from 'vite-plugin-svg-icons' |
| ++ import path from 'path' |
| |
| export default defineConfig({ |
| plugins: [ |
| vue(), |
| ++ createSvgIconsPlugin({ |
| ++ |
| ++ iconDirs: [path.resolve(process.cwd(), 'src/icons/svg')], |
| ++ |
| ++ symbolId: 'icon-[dir]-[name]', |
| ++ }), |
| ], |
| }) |
3.在main.ts 内引入注册脚本
| import 'virtual:svg-icons-register' |
4.在components创建SvgIcon.vue组件
| <template> |
| <svg class="svg-icon" :style="{ width: size + 'px', height: size + 'px', color: color }"> |
| <use :xlink:href="`#icon-${name}`" :fill="color" /> |
| </svg> |
| </template> |
| <script lang="ts" setup> |
| defineProps({ |
| name: { |
| type: String, |
| required: true, |
| default: "car", |
| }, |
| size: { |
| type: Number, |
| default: 30, |
| }, |
| color: { |
| type: String, |
| default: "#000", |
| }, |
| }); |
| </script> |
5.全局引用,在main.ts中引用挂载到全局
| import { createApp } from 'vue' |
| import App from './App.vue' |
| ++ import svgIcon from "./components/SvgIcon.vue"; |
| import 'virtual:svg-icons-register' |
| |
| ++ createApp(App).component('svg-icon', svgIcon).mount('#app') |
6.最后就可以在需要的组件中使用了
| <template> |
| <svg-icon name="car" :size="50" color="#777" /> |
| <svg-icon name="dog" :size="50" color="#777" /> |
| </template> |
效果图: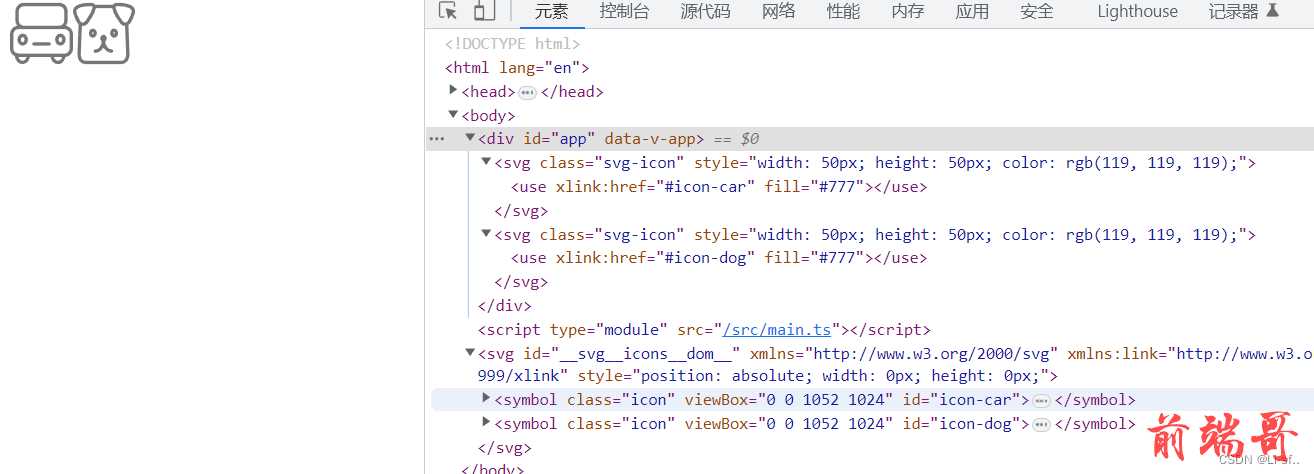
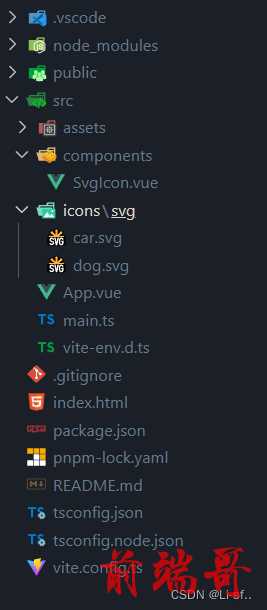
项目目录: