
文章目录
- 1、引入zxing-js
- 2、注意video标签
- 3、具体实现
- 完整代码
1、引入zxing-js
在uniapp中使用npm i @zxing/library --save这个方式引入依赖的话会存在报错 require is not defined,所以这里选择直接引入js文件;
js地址:地址

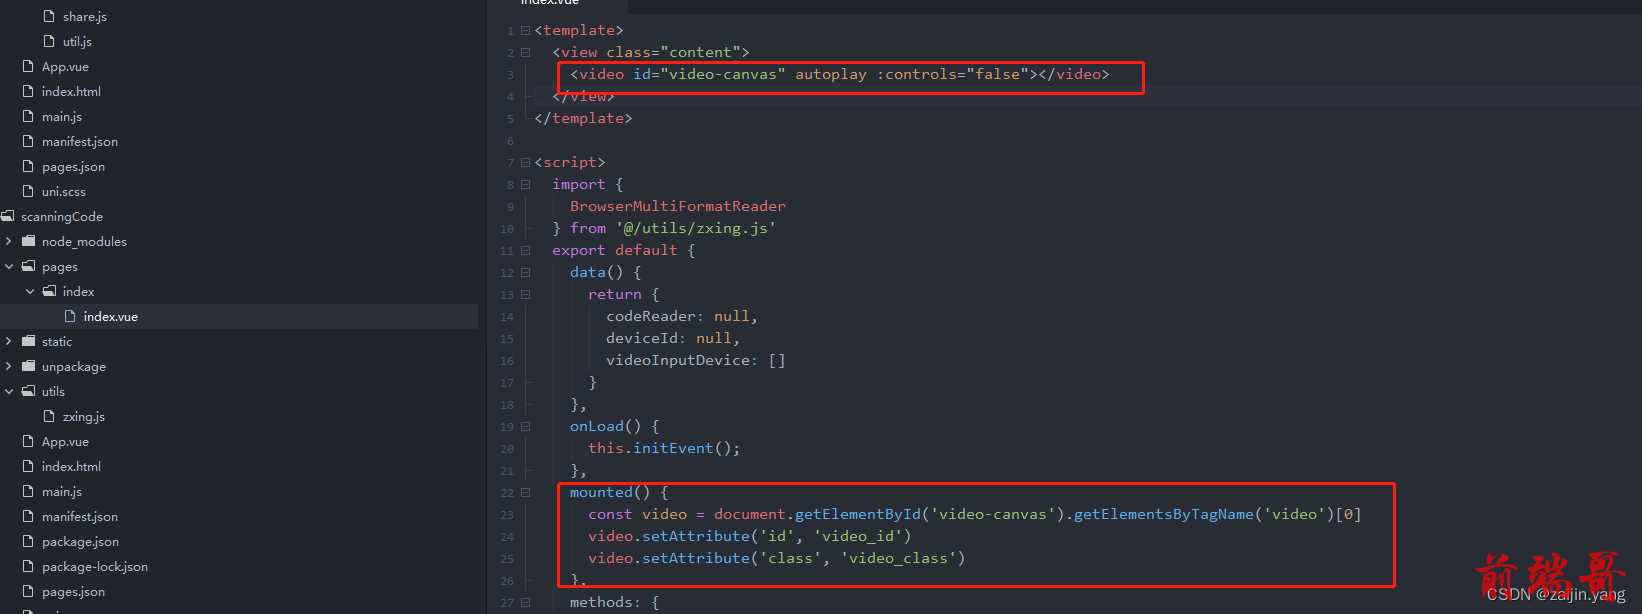
2、注意video标签
注意uniapp中的video标签是经过二次封装的,以至于在decodeFromVideoDevice方法中输入video标签中的id会一直报错 element with id'video' must be an video element(id为“video”的元素必须是视频元素),原因在于uniapp的video标签是二次封装组件

3、具体实现
listVideoInputDevices方法中的res代表视频通道,比如手机有前后两个摄像头,这里的res[1]代表的就是默认打开后置摄像头, res[0]为前置摄像头,res[1]为后置摄像头,大多数都是使用后置摄像头:


注意:该插件必须基于https才能调起来摄像功能。
完整代码
<template> <view class="content"> <video id="video-canvas" autoplay :controls="false"></video> </view> </template> <script> import { BrowserMultiFormatReader } from '@/utils/zxing.js' export default { data() { return { codeReader: null, deviceId: null, videoInputDevice: [] } }, onLoad() { this.initEvent(); }, mounted() { const video = document.getElementById('video-canvas').getElementsByTagName('video')[0] video.setAttribute('id', 'video_id') video.setAttribute('class', 'video_class') }, methods: { initEvent() { this.codeReader = new BrowserMultiFormatReader(); this.codeReader.listVideoInputDevices().then(res => { if (res.length) { this.videoInputDevice = res this.deviceId = res[1].deviceId } this.scanCode(); }).catch((err) => { uni.showModal({ title: '提示', content: '当前浏览器环境不支持获取视频通道', showCancel: false }); }) }, scanCode() { try { this.codeReader.decodeFromVideoDevice(this.deviceId, 'video_id', (res, err) => { if (res) { uni.showModal({ title: '扫码结果', content: JSON.stringify(res) }) } if (err) { uni.showModal({ title: '扫码失败结果', content: JSON.stringify(err) }) } }) } catch (e) { uni.showToast({ title: `初始化失败${e}`, icon: 'none' }) } } } } </script>

