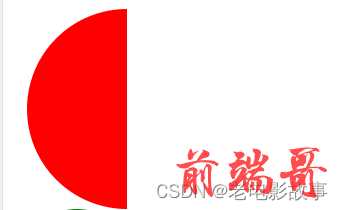
一、画三角形
1、使用 border
使用 border 实现三角形应该是大部分人都掌握的,也是各种面经中经常出现的,利用了高宽为零的容器及透明的 border 实现
.div1 { width:0; height:0; border-top: 100px solid transparent; border-right: 100px solid transparent; border-bottom: 100px solid green; border-left: 100px solid transparent; } .div2 { width:0; height:0; border: 100px solid; border-color: transparent transparent blue transparent; }

2、使用伪元素
.triangle { position: relative; width: 0; height: 0; } .triangle:before { content: ""; position: absolute; top: 0; left: 0; width: 0; height: 0; border-top: 50px solid #f00; border-right: 50px solid transparent; }
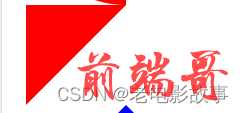
3、使用 linear-gradient 绘制三角形
它的原理也非常简单,我们实现一个 45° 的渐变:
div { width: 100px; height: 100px; background: linear-gradient(45deg, deeppink, yellowgreen); }
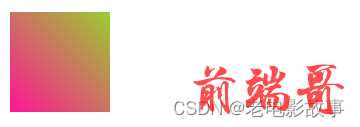
让它的颜色从渐变色变为两种固定的颜色:
div { width: 100px; height: 100px; background: linear-gradient(45deg, deeppink, deeppink 50%, yellowgreen 50%, yellowgreen 100%); }

再让其中一个颜色透明即可:
div { background: linear-gradient(45deg, deeppink, deeppink 50%, transparent 50%, transparent 100%); }
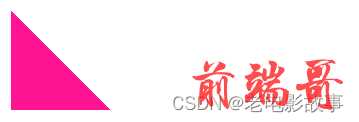
4、transform: rotate 配合 overflow: hidden 绘制三角形
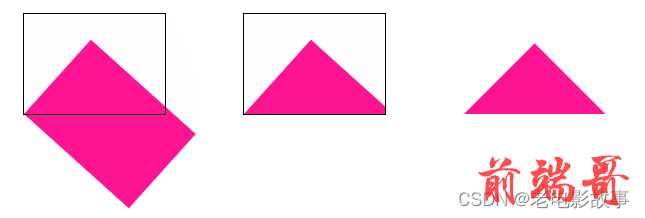
.triangle { width: 141px; height: 100px; position: relative; overflow: hidden; &::before { content: ""; position: absolute; top: 0; left: 0; right: 0; bottom: 0; background: deeppink; transform-origin: left bottom; transform: rotate(45deg); } }
5、使用 clip-path 绘制三角形
clip-path 一个非常有意思的 CSS 属性。
clip-path CSS 属性可以创建一个只有元素的部分区域可以显示的剪切区域。区域内的部分显示,区域外的隐藏。剪切区域是被引用内嵌的 URL 定义的路径或者外部 SVG 的路径。
也就是说,使用 clip-path 可以将一个容器裁剪成任何我们想要的样子。
通过 3 个坐标点,实现一个多边形,多余的空间则会被裁减掉,代码也非常简单:
div { background: deeppink; clip-path: polygon(0 0, 100% 0, 0 100%, 0 0); }

二、画⚪
1、使用border-radius属性
将一个正方形的元素的border-radius属性设置为50%即可将其变为一个圆形
.circle { width: 100px; height: 100px; background: pink; border-radius: 50%; }

2、使用伪元素和transform属性
使用伪元素在一个正方形的元素上创建一个完全重叠的圆形,并使用transform属性将其缩小到所需大小
.circle { width: 100px; height: 100px; position: relative; } .circle::before { content: ""; position: absolute; top: 0; left: 0; width: 100%; height: 100%; border-radius: 50%; background-color: red; transform: scale(0.8); }
3、clip-path
{ width: 100px; height: 100px; background: green; clip-path: circle(); }
三、半圆
{ width:100px; height:200px; border-left:100px solid red; border-radius: 100px; }
