1. 安装(选择一种方式)
-
直接引入html5-qrcode.min.js文件 (本例使用此方法)
2. 扫码组件代码(先引入Html5Qrcode资源)
| <template> |
| <view class="dialog-mask" v-if="value"> |
| <view class="dialog-box"> |
| <view id="qr-reader"></view> |
| </view> |
| </view> |
| </template> |
| |
| <script> |
| |
| export default { |
| name: 'Scan', |
| model: { props: 'value', event: 'close' }, |
| props: { |
| value: { type: Boolean, default: false }, |
| }, |
| watch: { |
| value(val) { |
| if (val) { |
| this.$nextTick(() => { |
| this.getCameras() |
| }) |
| } |
| }, |
| }, |
| data() { |
| return { |
| cameraId: '', |
| html5QrCode: '', |
| } |
| }, |
| beforeDestroy() { |
| this.stop() |
| }, |
| methods: { |
| getCameras() { |
| uni.showLoading({ title: '相机启动中...', icon: 'none' }) |
| Html5Qrcode.getCameras() |
| .then((devices) => { |
| |
| |
| |
| |
| if (devices && devices.length) { |
| if (devices.length > 1) { |
| this.cameraId = devices[1].id |
| } else { |
| this.cameraId = devices[0].id |
| } |
| console.log(this.cameraId, 'cameraId') |
| this.start() |
| } |
| }) |
| .catch((err) => { |
| this.close() |
| uni.showToast({ title: '启用相机失败', icon: 'none' }) |
| }) |
| }, |
| start() { |
| this.html5QrCode = new Html5Qrcode('qr-reader') |
| setTimeout(() => { |
| uni.hideLoading() |
| }, 1500) |
| this.html5QrCode |
| .start( |
| this.cameraId, |
| { |
| fps: 10, |
| qrbox: { width: 300, height: 300 }, |
| aspectRatio: 1.777778, |
| }, |
| (qrCodeMessage) => { |
| |
| if (qrCodeMessage) { |
| this.qrCodeMessage = qrCodeMessage |
| this.$emit('success', qrCodeMessage) |
| this.close() |
| this.stop() |
| } |
| }, |
| (errorMessage) => {}, |
| ) |
| .catch((err) => { |
| |
| uni.showToast({ title: `扫码失败:${err}`, icon: 'none' }) |
| }) |
| }, |
| stop() { |
| this.html5QrCode && |
| this.html5QrCode.stop().finally(() => { |
| this.html5QrCode.clear() |
| this.html5QrCode = null |
| }) |
| }, |
| close() { |
| this.$emit('close', false) |
| }, |
| }, |
| } |
| </script> |
| |
| <style lang="scss" scoped> |
| .dialog-mask { |
| position: fixed; |
| top: 0; |
| left: 0; |
| z-index: 99; |
| height: 100vh; |
| width: 100vw; |
| background-color: rgba(0, 0, 0, 0.7); |
| .dialog-box { |
| position: absolute; |
| left: 0; |
| top: 0; |
| width: 100vw; |
| height: 100vh; |
| display: flex; |
| align-items: center; |
| #qr-reader { |
| width: 750rpx; |
| } |
| } |
| } |
| </style> |
3. 扫描组件使用方法
- 引入组件
- 使用组件,通过v-model控制显示与隐藏,success回调获取扫码结果。
| |
| <Scan v-model="showScan" @success="getScan" /> |
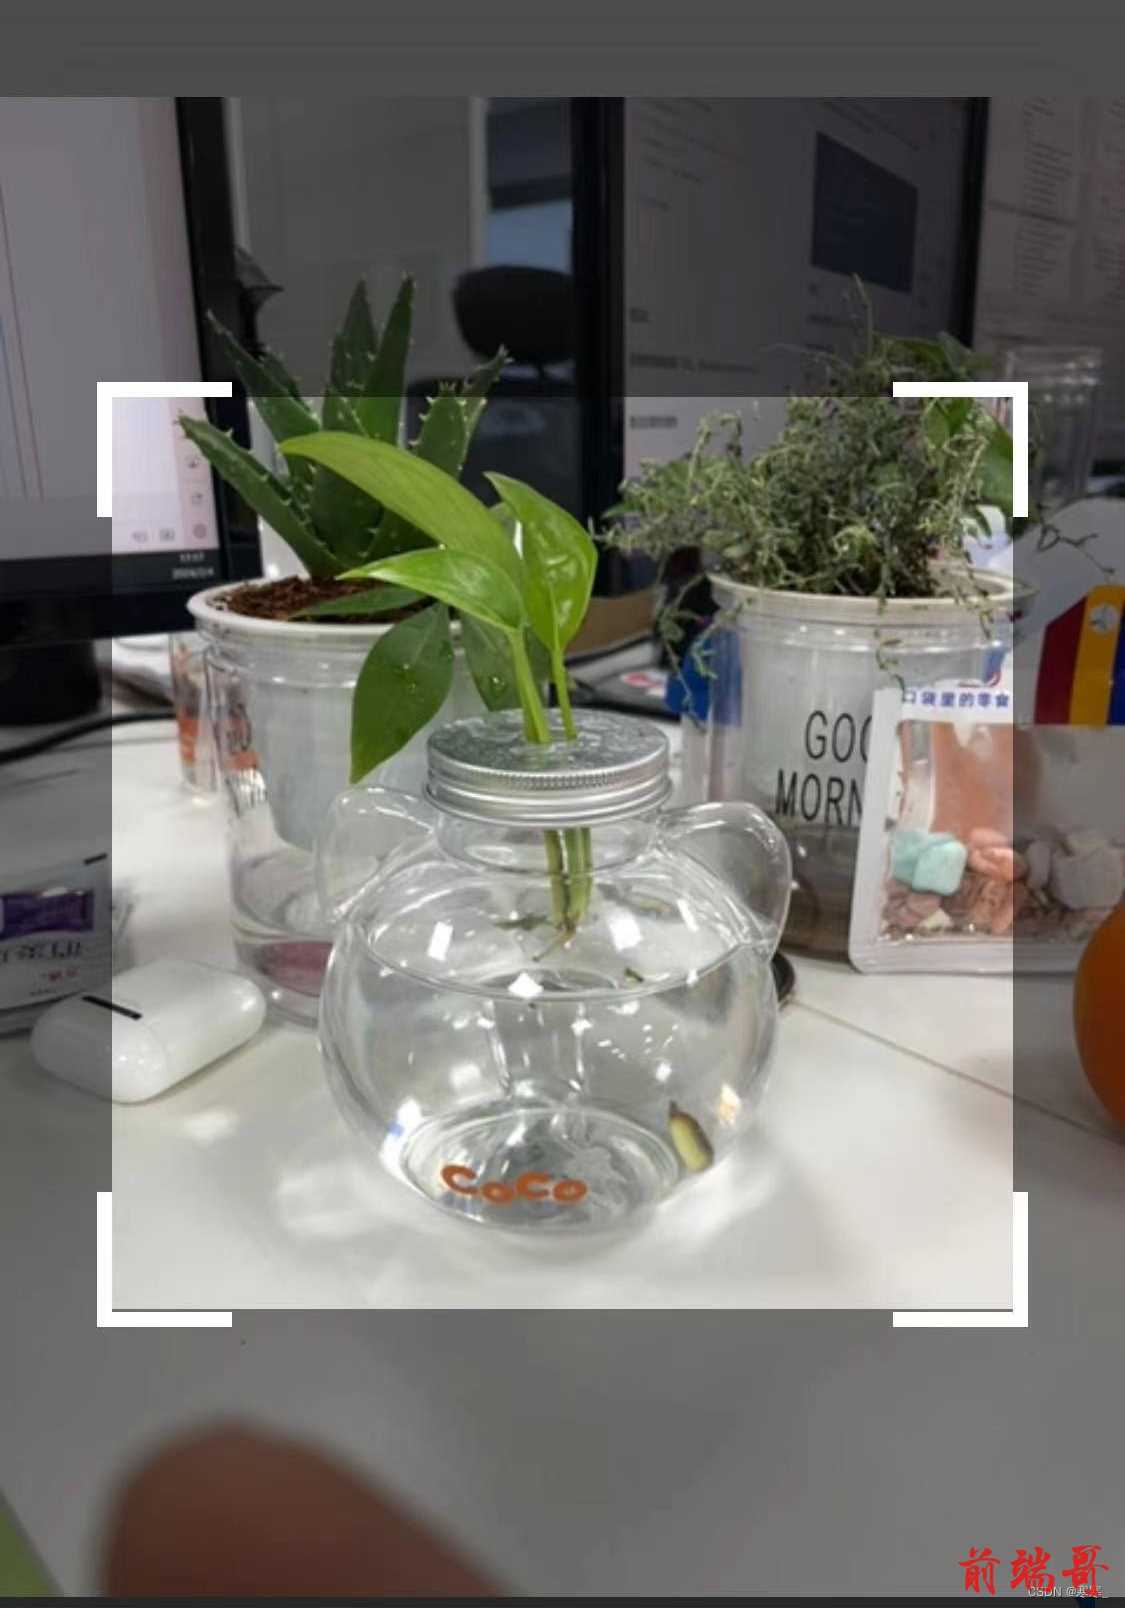
4. 实现效果


