
文章目录
- 一、`Print.js`
- 二、安装
- 2.1、 `js`文件
- 2.2、`npm`
- 2.3、`CDN`
- 三、使用
- 3.1、网页(`HTML`)打印
- 3.2、`PDF` 打印
- 3.3、图像打印
- 3.4、`JSON` 打印
- 四、最后
一、Print.js
在使用 Print.js 插件之前,我们可以通过下面的链接先了解和认识一下这个 JavaScript 插件。
官方地址:
Print.js - Javascript library for HTML elements, PDF and image files printing
GitHub地址:GitHub - crabbly/Printjs: A tiny javascript library to help printing from the web
如何认识和快速上手 Print.js,我们可以从官网的内容开始阅读,在官网中有很详细的介绍和使用例子,虽然是英文版的。
Print.js 打印插件包括了 PDF 打印、HTML 打印、JSON 打印、图像打印等。
二、安装
2.1、 js文件
下载最新版本的 Print.js,点击【前往】
2.2、npm
使用 npm 进行安装,请执行以下操作:
npm install print-js --save
使用 yarn 安装:
yarn add print-js
通过 npm 或 yarn 安装时,将库导入到项目中:
import print from 'print-js'
2.3、CDN
使用在线的 CDN:
https://printjs-4de6.kxcdn.com/print.min.js https://printjs-4de6.kxcdn.com/print.min.css
三、使用
3.1、网页(HTML)打印
有时我们只想打印HTML页面的选定部分,这可能很棘手。使用 Print.js,我们可以轻松传递要打印的元素的 id。该元素可以是任何标记,只要它具有唯一的 id。图书馆将尝试非常接近它在屏幕上的外观进行打印,同时,它将为其创建打印机友好的格式。

<form method="post" action="#" id="printJS-form"> ... </form> <button type="button" onclick="printJS('printJS-form', 'html')"> Print Form </button>

<button type="button" onclick="printJS({ printable: 'printJS-form', type: 'html', header: 'PrintJS - Form Element Selection' })"> Print Form with Header </button>
3.2、PDF 打印
Print.js 主要是为了帮助我们直接在应用程序中打印 PDF 文件,无需离开界面,也不使用嵌入。对于用户不需要打开或下载 PDF 文件,而只需要打印它们的独特情况。
例如,当用户请求打印在服务器端生成的报表时,这很有用的一种情况。这些报告以 PDF 文件的形式发回。在打印这些文件之前,无需打开它们。Print.js 提供了一种在我们的应用程序中打印这些文件的快速方法。
注意:
Print.js在打印文件之前使用iframe加载文件,因此,它受到同源策略的限制。这有助于防止跨站点脚本 (XSS) 攻击。
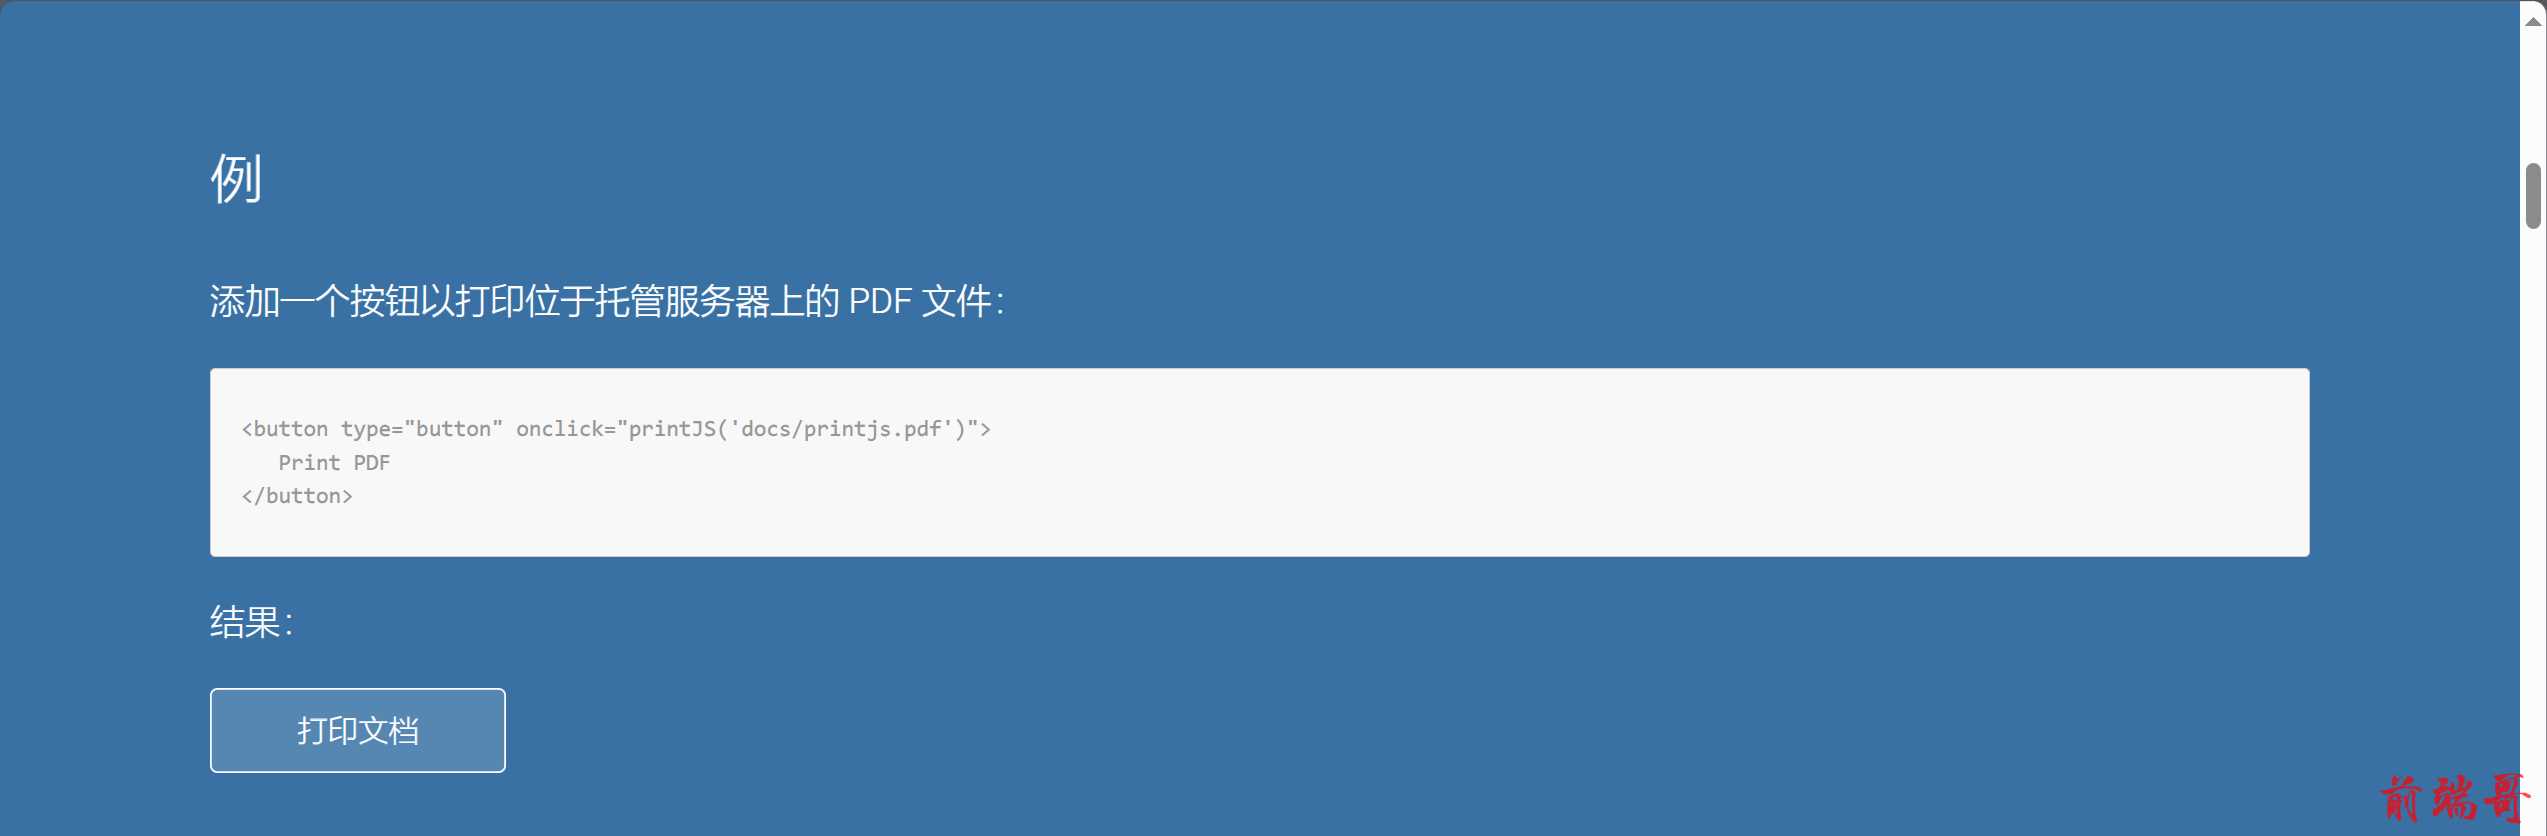
<button type="button" onclick="printJS('docs/printjs.pdf')"> Print PDF </button>

<button type="button" onclick="printJS({printable:'docs/xx_large_printjs.pdf', type:'pdf', showModal:true})"> Print PDF with Message </button>

<button type="button" onclick="printJS({printable: base64, type: 'pdf', base64: true})"> Print PDF with Message </button>
3.3、图像打印
Print.js 可用于通过传递图像 URL 快速打印页面上的任何图像。当您使用低分辨率版本的图像在屏幕上有多个图像时,这可能很有用。当用户尝试打印所选图像时,您可以将高分辨率 url 传递给 Print.js。

<img src="images/print-01.jpg" /> printJS('images/print-01-highres.jpg', 'image')

printJS({printable: 'images/print-01-highres.jpg', type: 'image', header: 'My cool image header'}) printJS({ printable: ['images/print-01-highres.jpg', 'images/print-02-highres.jpg', 'images/print-03-highres.jpg'], type: 'image', header: 'Multiple Images', imageStyle: 'width:50%;margin-bottom:20px;' })
3.4、JSON 打印
打印动态数据或 JavaScript 对象数组的简单快捷方法。

someJSONdata = [ { name: 'John Doe', email: 'john@doe.com', phone: '111-111-1111' }, { name: 'Barry Allen', email: 'barry@flash.com', phone: '222-222-2222' }, { name: 'Cool Dude', email: 'cool@dude.com', phone: '333-333-3333' } ]
<button type="button" onclick="printJS({printable: someJSONdata, properties: ['name', 'email', 'phone'], type: 'json'})"> Print JSON Data </button>
我们可以通过传递一些自定义 css 来设置数据网格的样式:
<button type="button" onclick="printJS({ printable: someJSONdata, properties: ['name', 'email', 'phone'], type: 'json', gridHeaderStyle: 'color: red; border: 2px solid #3971A5;', gridStyle: 'border: 2px solid #3971A5;' })"> Print JSON Data </button>
我们可以自定义发送对象数组的表头文本:
<button type="button" onclick="printJS({ printable: someJSONdata, properties: [ { field: 'name', displayName: 'Full Name'}, { field: 'email', displayName: 'E-mail'}, { field: 'phone', displayName: 'Phone'} ], type: 'json' })"> Print with custom table header text </button>
JSON、HTML 和 Image print 可以接收原始 HTML 标头:
<button type="button" onclick="printJS({ printable: someJSONdata, type: 'json', properties: ['name', 'email', 'phone'], header: '<h3 class="custom-h3">My custom header</h3>', style: '.custom-h3 { color: red; }' })"> Print header raw html </button>
四、最后
本人每篇文章都是一字一句码出来,希望对大家有所帮助,多提提意见。顺手来个三连击,点赞👍收藏💖关注✨,一起加油☕

