文章目录
-
- 概要
- 安装插件
- 引入全局样式
- 引入字体图标库
- 完整demo
- 解析-保存模版
- 解析-左侧的自定义组件
- 解析-视图容器
- 解析-打印
- 文件地址
概要
项目中,我们可能需要实现打印的需求功能,而打印时,用户可以先去编辑打印模版,这样再其他模版,只需要提供数据,就可以使用模版进行打印。
例如:
发货单模版的编辑与使用,如图所示。


安装插件
vue-plugin-hiprint
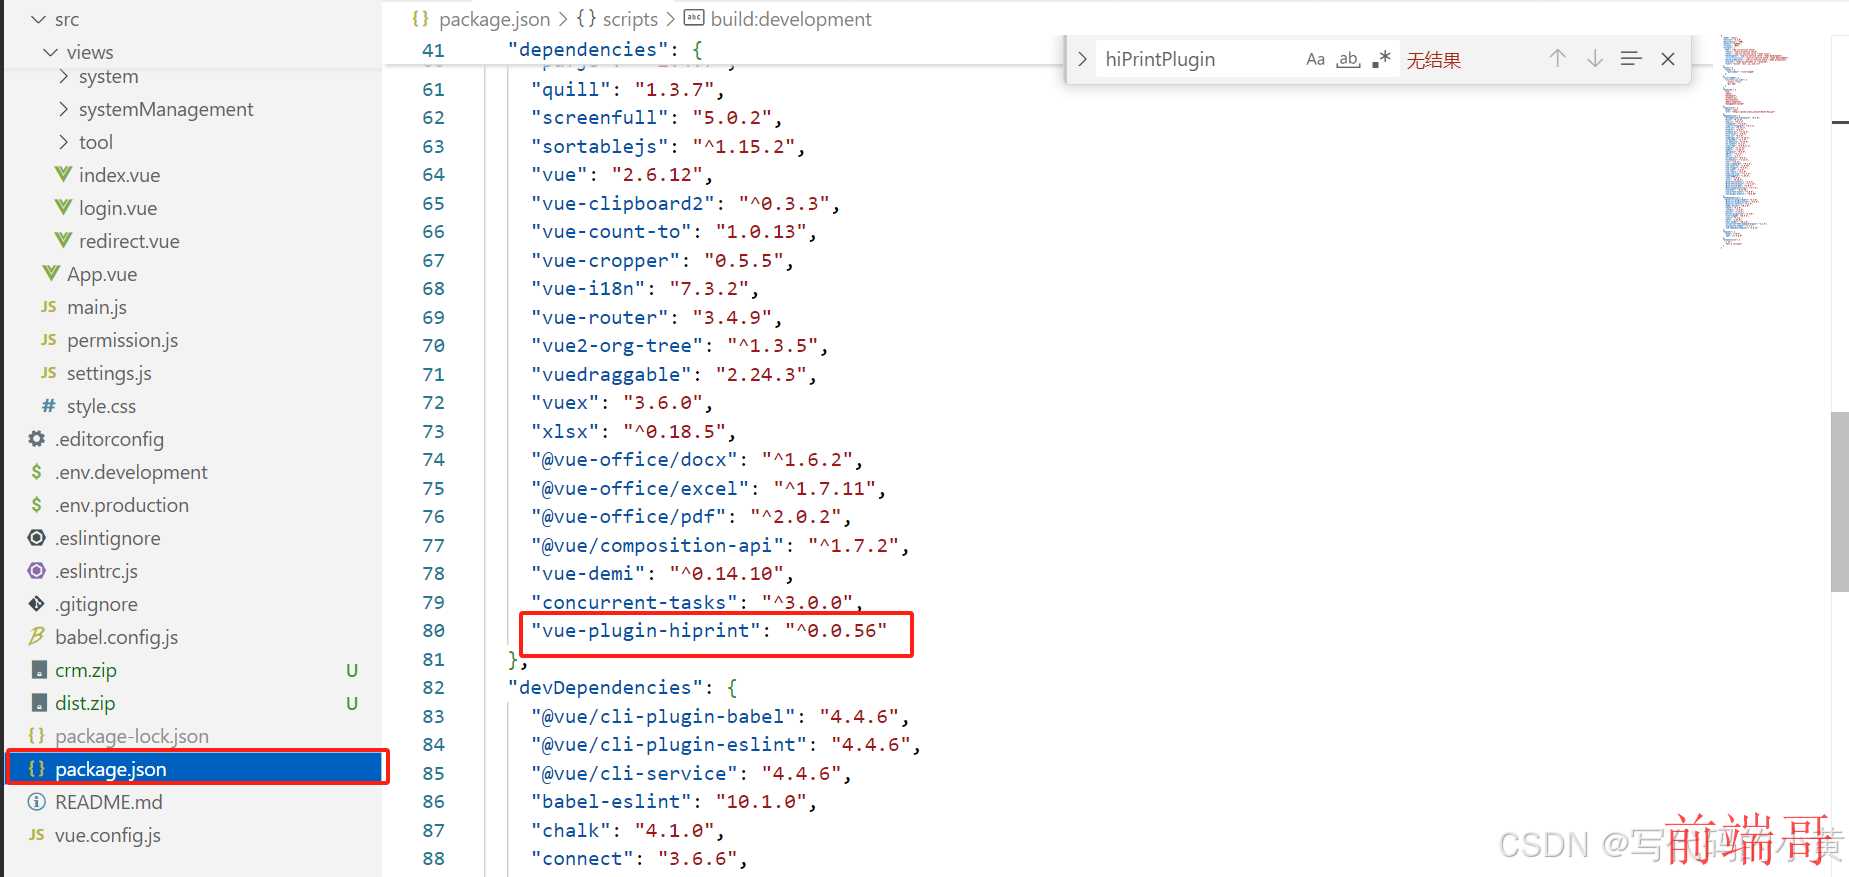
这里我是通过脚手架的方式进行项目搭建,通过npm的方式安装插件。在package.json查看插件的具体版本。
npm i -S vue-plugin-hiprint

引入全局样式
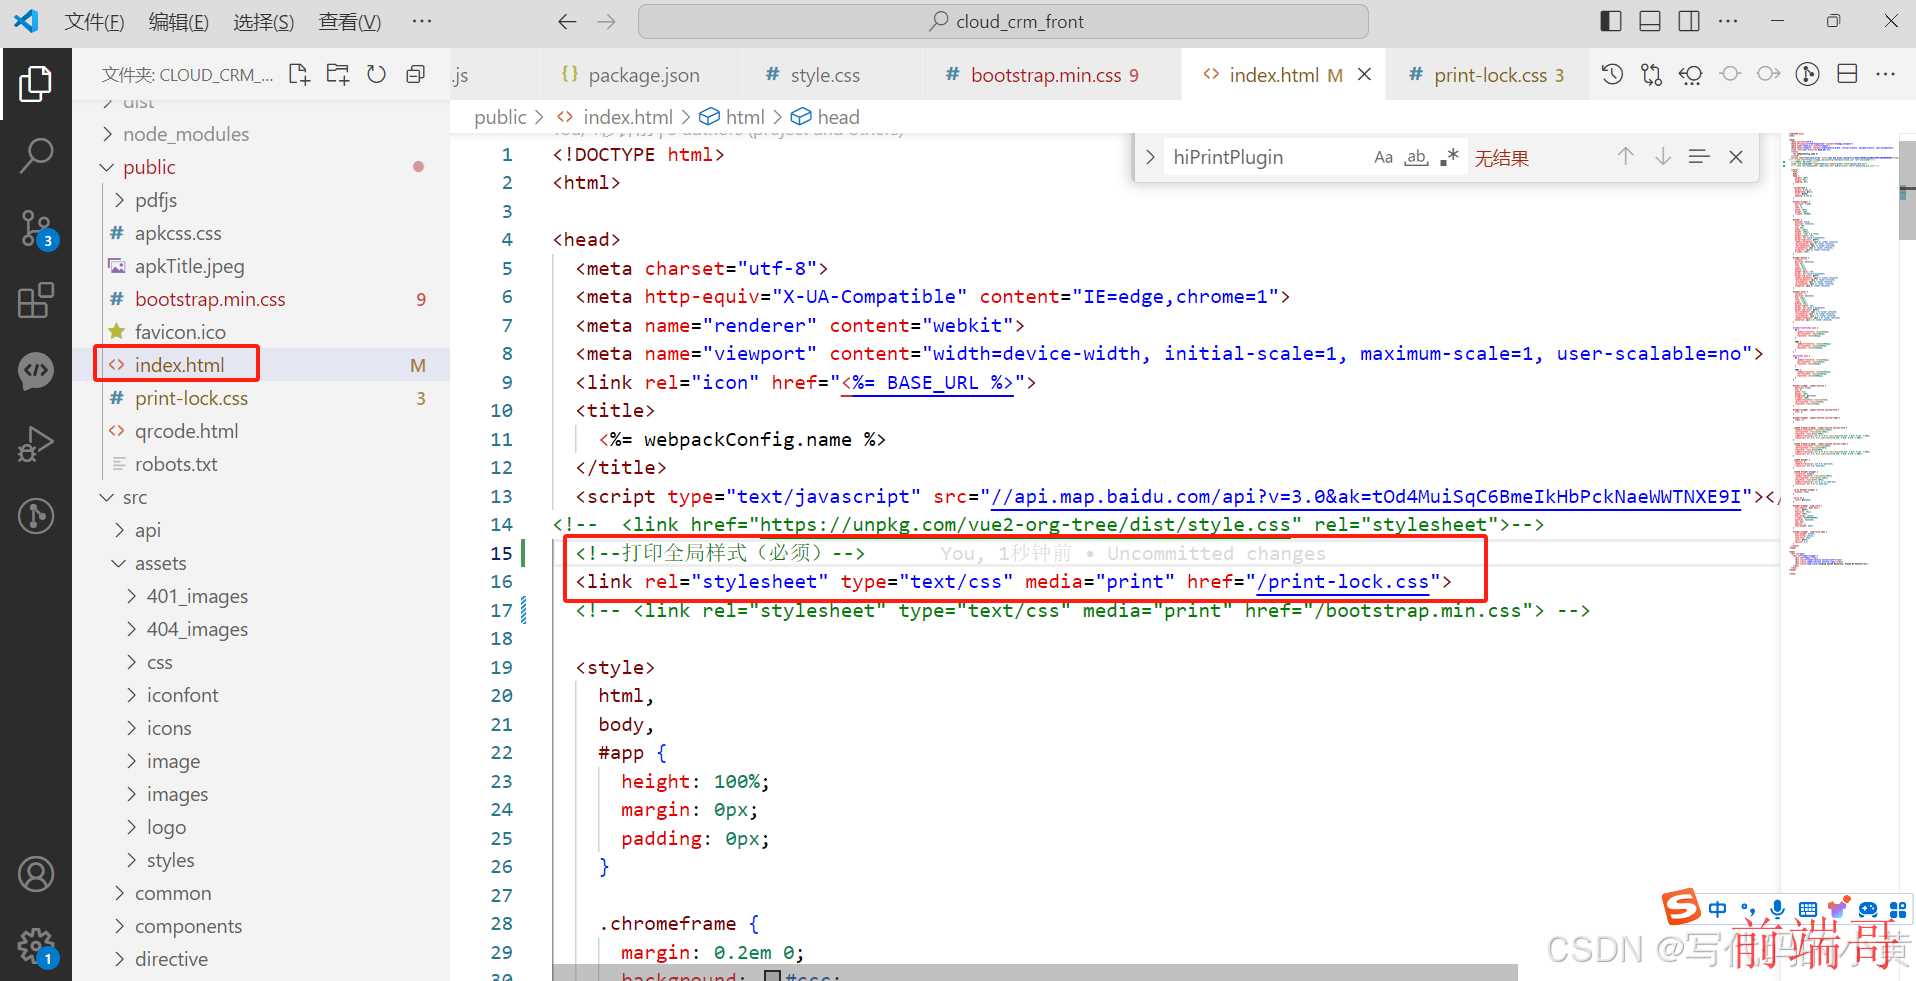
打印样式print-lock.css必须正确引入
注意:文章里涉及到的一些文件会在文章下方提供下载链接。
注意这里的全局样式一定要正确引入,不然可能会出现一些打印时的样式问题。

引入字体图标库
注意:文章里涉及到的一些文件会在文章下方提供下载链接。
全局CSS引入图标库,不影响代码执行,但是不引入会图标库会不显示图标。

完整demo
index.vue
注意:文章里涉及到的一些文件会在文章下方提供下载链接。
这里提供了完整的模版设计代码,下面会做细节的讲解。

完整demo
<template>
  <div class="flex-col">
    <div
      class="printTitle"
      style="margin-bottom: 10px; background-color: white; padding: 3px 0"
    >
      <h4 style="margin-left: 10px; display: inline-block">
        {
   {
    demo }}模版名称:<el-input
          v-model="input"
          placeholder="请输入标题"
        ></el-input>
      </h4>
      <button class="api circle-10 ml-10" @click.stop="exportJson">
        <i class="iconfont sv-save" />
        保存
      </button>
    </div>
    <div class="flex-row" style="height: 87vh">
      <div class="flex-2 left">
        <div class="flex-row justify-center flex-wrap">
          <div
            id="provider-container2"
            class="container custom-style-types"
          ></div>
          <div class="title">辅助元素</div>
          <div class="ep-draggable-item item" tid="defaultModule.hline">
            <i class="iconfont sv-hline" />
            <span>横线</span>
          </div>
          <div class="ep-draggable-item item" tid="defaultModule.vline">
            <i class="iconfont sv-vline" />
            <span>竖线</span>
          </div>
          <div class="ep-draggable-item item" tid="defaultModule.rect">
            <i class="iconfont sv-rect" />
            <span>矩形</span>
          </div>
          <div class="ep-draggable-item item" tid="defaultModule.oval">
            <i class="iconfont sv-oval" />
            <span>圆形</span>
          </div>
        </div>
      </div>
      <div class="flex-5 center">
        <!-- 设计器的 容器 -->
        <div id="hiprint-printTemplate"></div>
      </div>
      <div class="flex-2 right">
        <!-- 元素参数的 容器 -->
        <div id="PrintElementOptionSetting"></div>
      </div>
    </div>
  </div>
</template>

<script>
import {
    hiprint, defaultElementTypeProvider } from "vue-plugin-hiprint";
import {
    provider3 } from "./provider3";
import {
    provider2 } from "./provider2";
import {
    provider1 } from "./provider1";
import {
    newHiprintPrintTemplate } from "../../utils/template-helper";
import {
    getPrintDetail, savePrint, updatePrint } from "@/api/print";
export default {

  props: ["id", "type"],
  name: "start-01",
  data() {

    return {

      hiprintTemplate: null,
      input: "",
      template: null,
      provider: null,
      demo: "",
    };
  },
  methods: {

    /**
     * 构建左侧可拖拽元素
     * 注意: 可拖拽元素必须在 hiprint.init() 之后调用
     * 而且 必须包含 class="ep-draggable-item" 否则无法拖拽进设计器
     */
    buildLeftElement() {

      // eslint-disable-next-line no-undef
      hiprint.PrintElementTypeManager.buildByHtml($(".ep-draggable-item"));
      $("#provider-container2").empty(); // 先清空, 避免重复构建
      // eslint-disable-next-line no-undef
      hiprint.PrintElementTypeManager.build(
        $("#provider-container2"),
        "providerModule2"
      );
    },
    buildDesigner() {

      if (this.id != 0) {

        getPrintDetail({
    id: this.id }).then((res) => {

          this.input = res.name;
          this.template = JSON.parse(res.content);
          console.log("temp", JSON.parse(res.content));

          // eslint-disable-next-line no-undef
          $("#hiprint-printTemplate").empty();</
