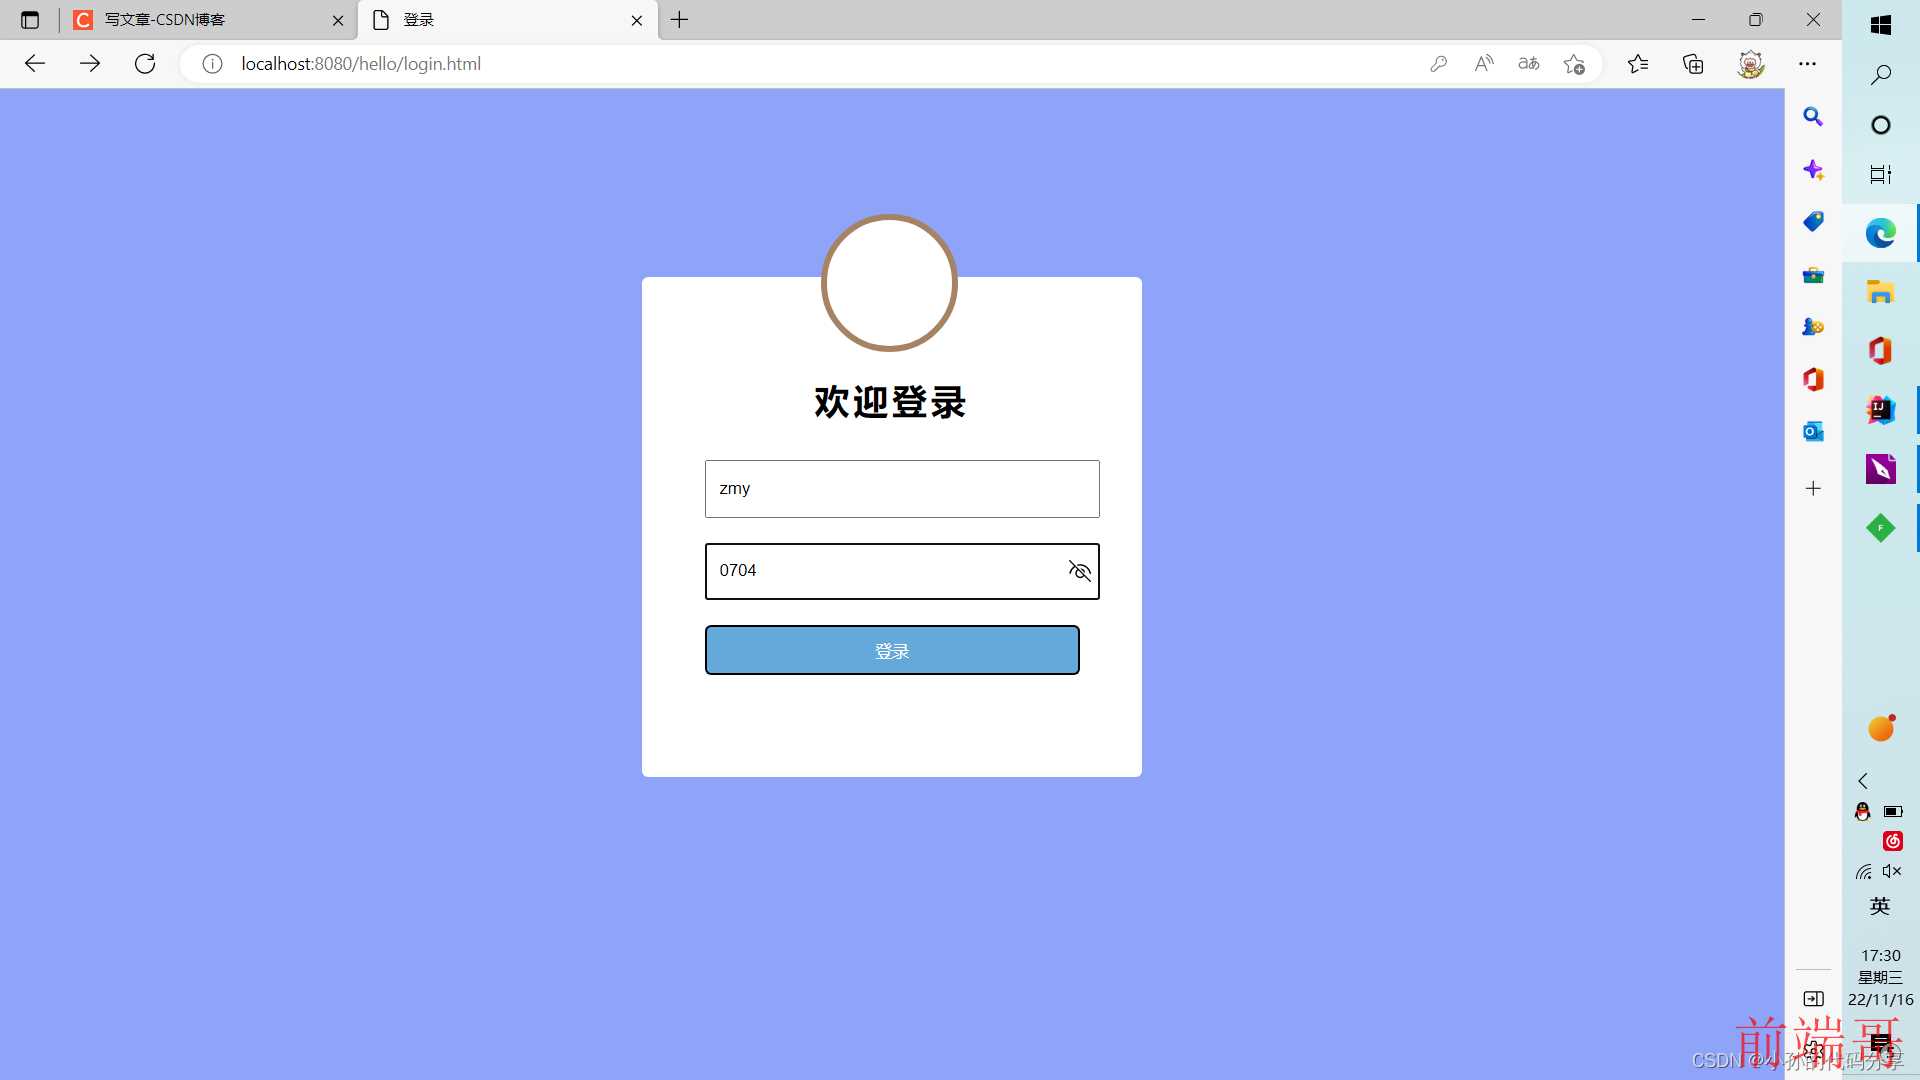
实现用户登陆【实现登录的交互+获取主页的交互】
登录的交互:

获取主页的交互

步骤
1. 先编写一个简单的登录页面——使用from表单来构造post请求

注意

2. 编写一个Servlet来处理这个登录请求

3. 编写服务器端返回主页的逻辑


页面


源代码
login.html
<!DOCTYPE html> <html lang="en"> <head> <meta charset="UTF-8"> <title>登录</title> </head> <style> body { background-color: #8ea4f8; background-repeat: no-repeat; background-size: cover; } .login_box { width: 400px; height: 400px; background-color: #fff; margin: auto; margin-top: 150px; border-radius: 5px; overflow: hidden; overflow:hidden; } .title { text-align: center; font-size: 28px; color: #000; margin-top: 80px; margin-bottom: 10px; letter-spacing: 3px; font-family: sans-serif; } .input_box { width: 300px; height: 30px; width: 300px; height: 40px; padding-left: 10px; margin-top: 20px; margin-left: 50px; } .button_box { width: 300px; height: 35px; width: 300px; height: 40px; margin-top: 20px; margin-left: 50px; border-radius: 5px; background-color: #64a9d9; cursor: pointer; color: #fff; } .logo_box { position: absolute; background-color: #fff; width: 100px; height: 100px; border-radius: 100px; top: 100px; left: 46%; border: solid 5px #A68364; text-align: center; } .logo_img { margin-top: 20px; } </style> <body> <form action="login" method="post"> <div class="logo_box"></div> <div class="login_box"> <h1 class="title">欢迎登录</h1> <input class="input_box" type="text" name="username" placeholder="用户名"> <input class="input_box" type="password" name="password" placeholder="密码"> <input class="button_box" type="submit" value="登录"> </div> </form> </body> </html>
LoginServlet
import javax.servlet.ServletException; import javax.servlet.annotation.WebServlet; import javax.servlet.http.HttpServlet; import javax.servlet.http.HttpServletRequest; import javax.servlet.http.HttpServletResponse; import javax.servlet.http.HttpSession; import java.io.IOException; @WebServlet("/login") public class LoginServlet extends HttpServlet { @Override protected void doPost(HttpServletRequest req, HttpServletResponse resp) throws ServletException, IOException { //处理用户请求 String username =req.getParameter("username"); String password =req.getParameter("password"); //判断用户名、密码是否正确 //数据库存储的用户名 密码 是判断的依据 此处为了简单将用户名密码写死 if ("zmy".equals(username)&&"0704".equals(password)){ //登陆成功 //创建会话并并保存必要的身份信息 HttpSession httpSession = req.getSession(true); //往会话中存储键值对,必要的身份信息 httpSession.setAttribute("username",username); resp.sendRedirect("index"); }else{ //登录失败 resp.getWriter().write("login failed!"); } } }
IndexServlet
import javax.servlet.ServletException; import javax.servlet.annotation.WebServlet; import javax.servlet.http.HttpServlet; import javax.servlet.http.HttpServletRequest; import javax.servlet.http.HttpServletResponse; import javax.servlet.http.HttpSession; import java.io.IOException; @WebServlet("/index") public class IndexServlet extends HttpServlet { @Override protected void doGet(HttpServletRequest req, HttpServletResponse resp) throws ServletException, IOException { //返回一个主页(主页是一个简单的html页面) //此处需要得到用户名是啥,从HTTP session中就能拿到 //此处getSession的参数必须是false ,前面登录的时候创建过会话了,此处直接获取到之前的会话 HttpSession session = req.getSession(false); String username =(String) session.getAttribute("username"); resp.setContentType("text/html;charset=utf8"); resp.getWriter().write("<h3>欢迎回来!"+username+"</h3>"); } }
拓展:实现登录次数


不断刷新


